IDAM Terraform App Registration Setup Guide
This guide walks engineers and developers through using Terraform in the staff-identity-idam-entra-infra repository to create app registrations in Azure Entra ID.
Please note that for Enterprise Applications you will need to raise a request, via the demand process here New Demand Request
Prerequisites
If you have already cloned the repo, skip ahead to step 4 and commit and push your changes.
If you have not yet cloned the repo, follow the steps below.
Step 1: Clone the Repository
Open Visual Studio Code and start a new terminal session. Then enter:
mkdir $env:userprofile\git
cd $env:userprofile\git\
git clone git@github.com:ministryofjustice/staff-identity-idam-entra-infra.git
cd staff-identity-idam-entra-infra
code .                   # Opens VS Code in this location
Step 2: Update Repo and Create Feature Branch
If you’ve already cloned the repo locally, open the repo in VS Code (or IDE of your choice) and run the following in the terminal:
git pull
git checkout -b "IDAM-xxxx-name-of-your-feature-branch"
Replace IDAM-xxxx with the Jira ticket number linked to your change.
Note: If you are not a member of the IDAM team, you don’t need to name your branch in the Jira format. You can simply use something like “teamname-feature”
Step 3: Create the Terraform Folder Structure
Navigate to: STAFF-IDENTITY-IDAM-ENTRA-INFRA/TERRAFORM/ENVS/REQUIRED_ENV
Then complete the following:
Create a new folder in the root of the environment directory that you are deploying to, in the format
department-teamname.Copy contents from the terraform-template folder.
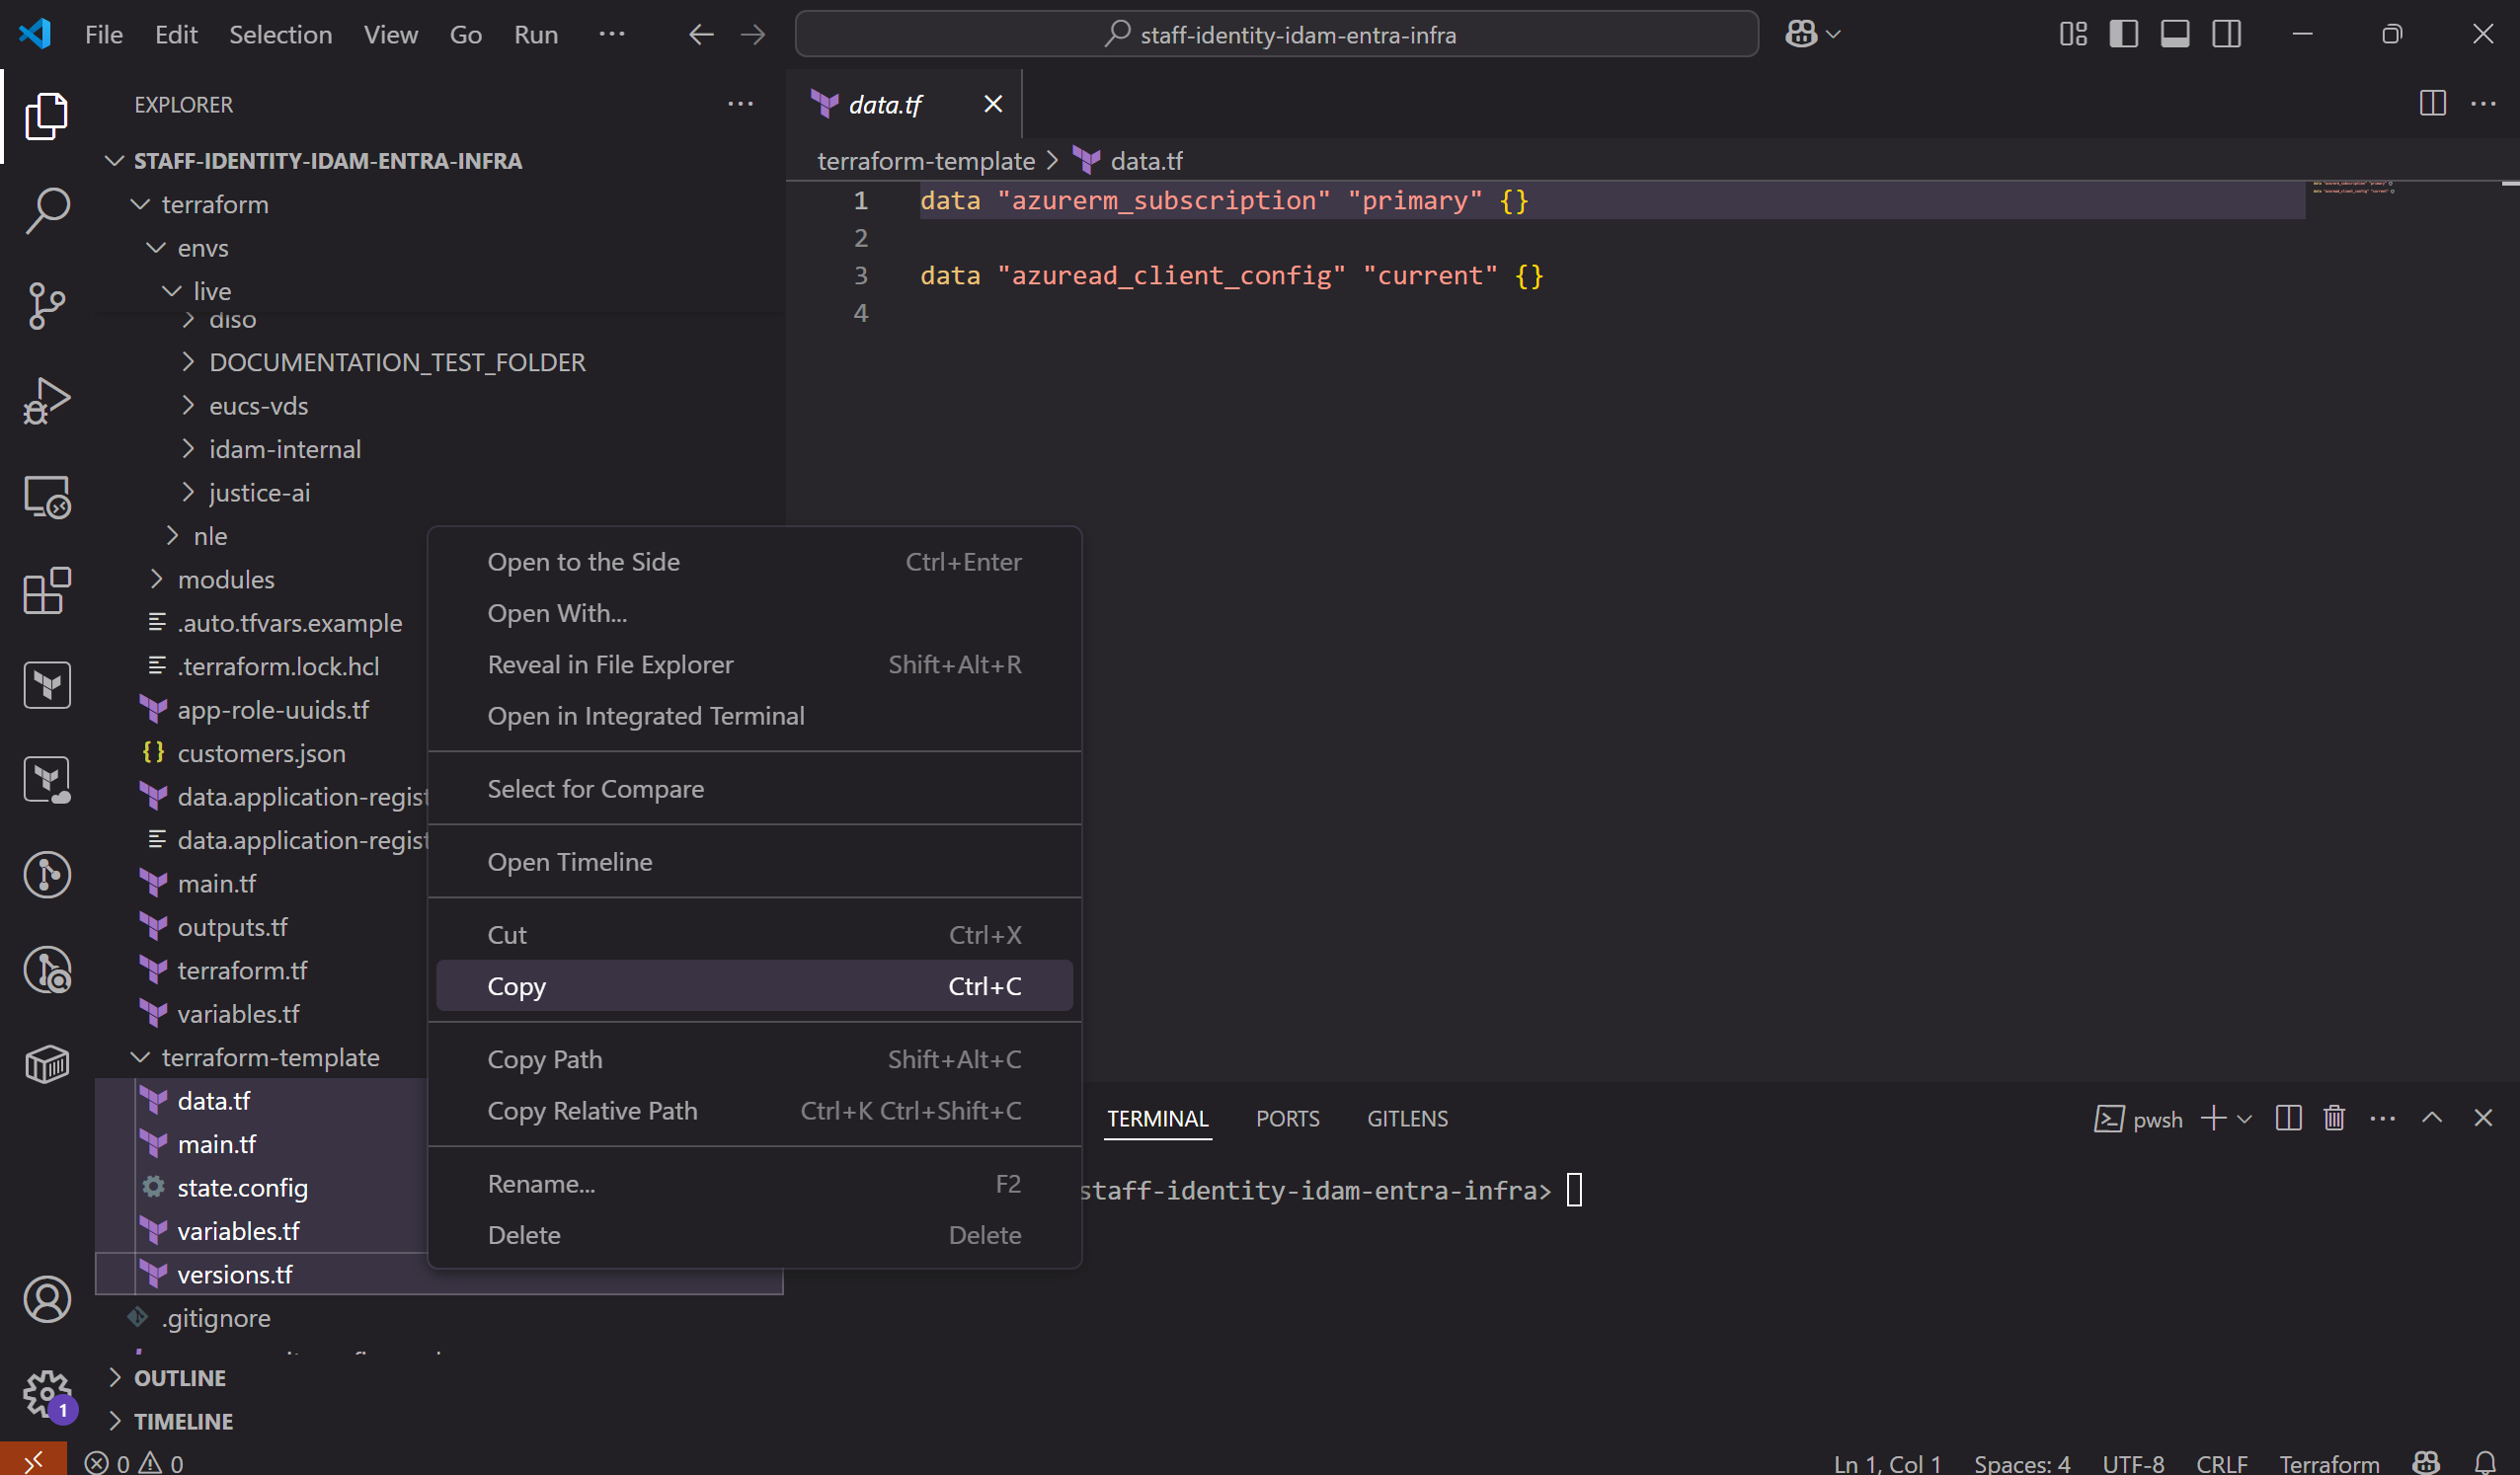
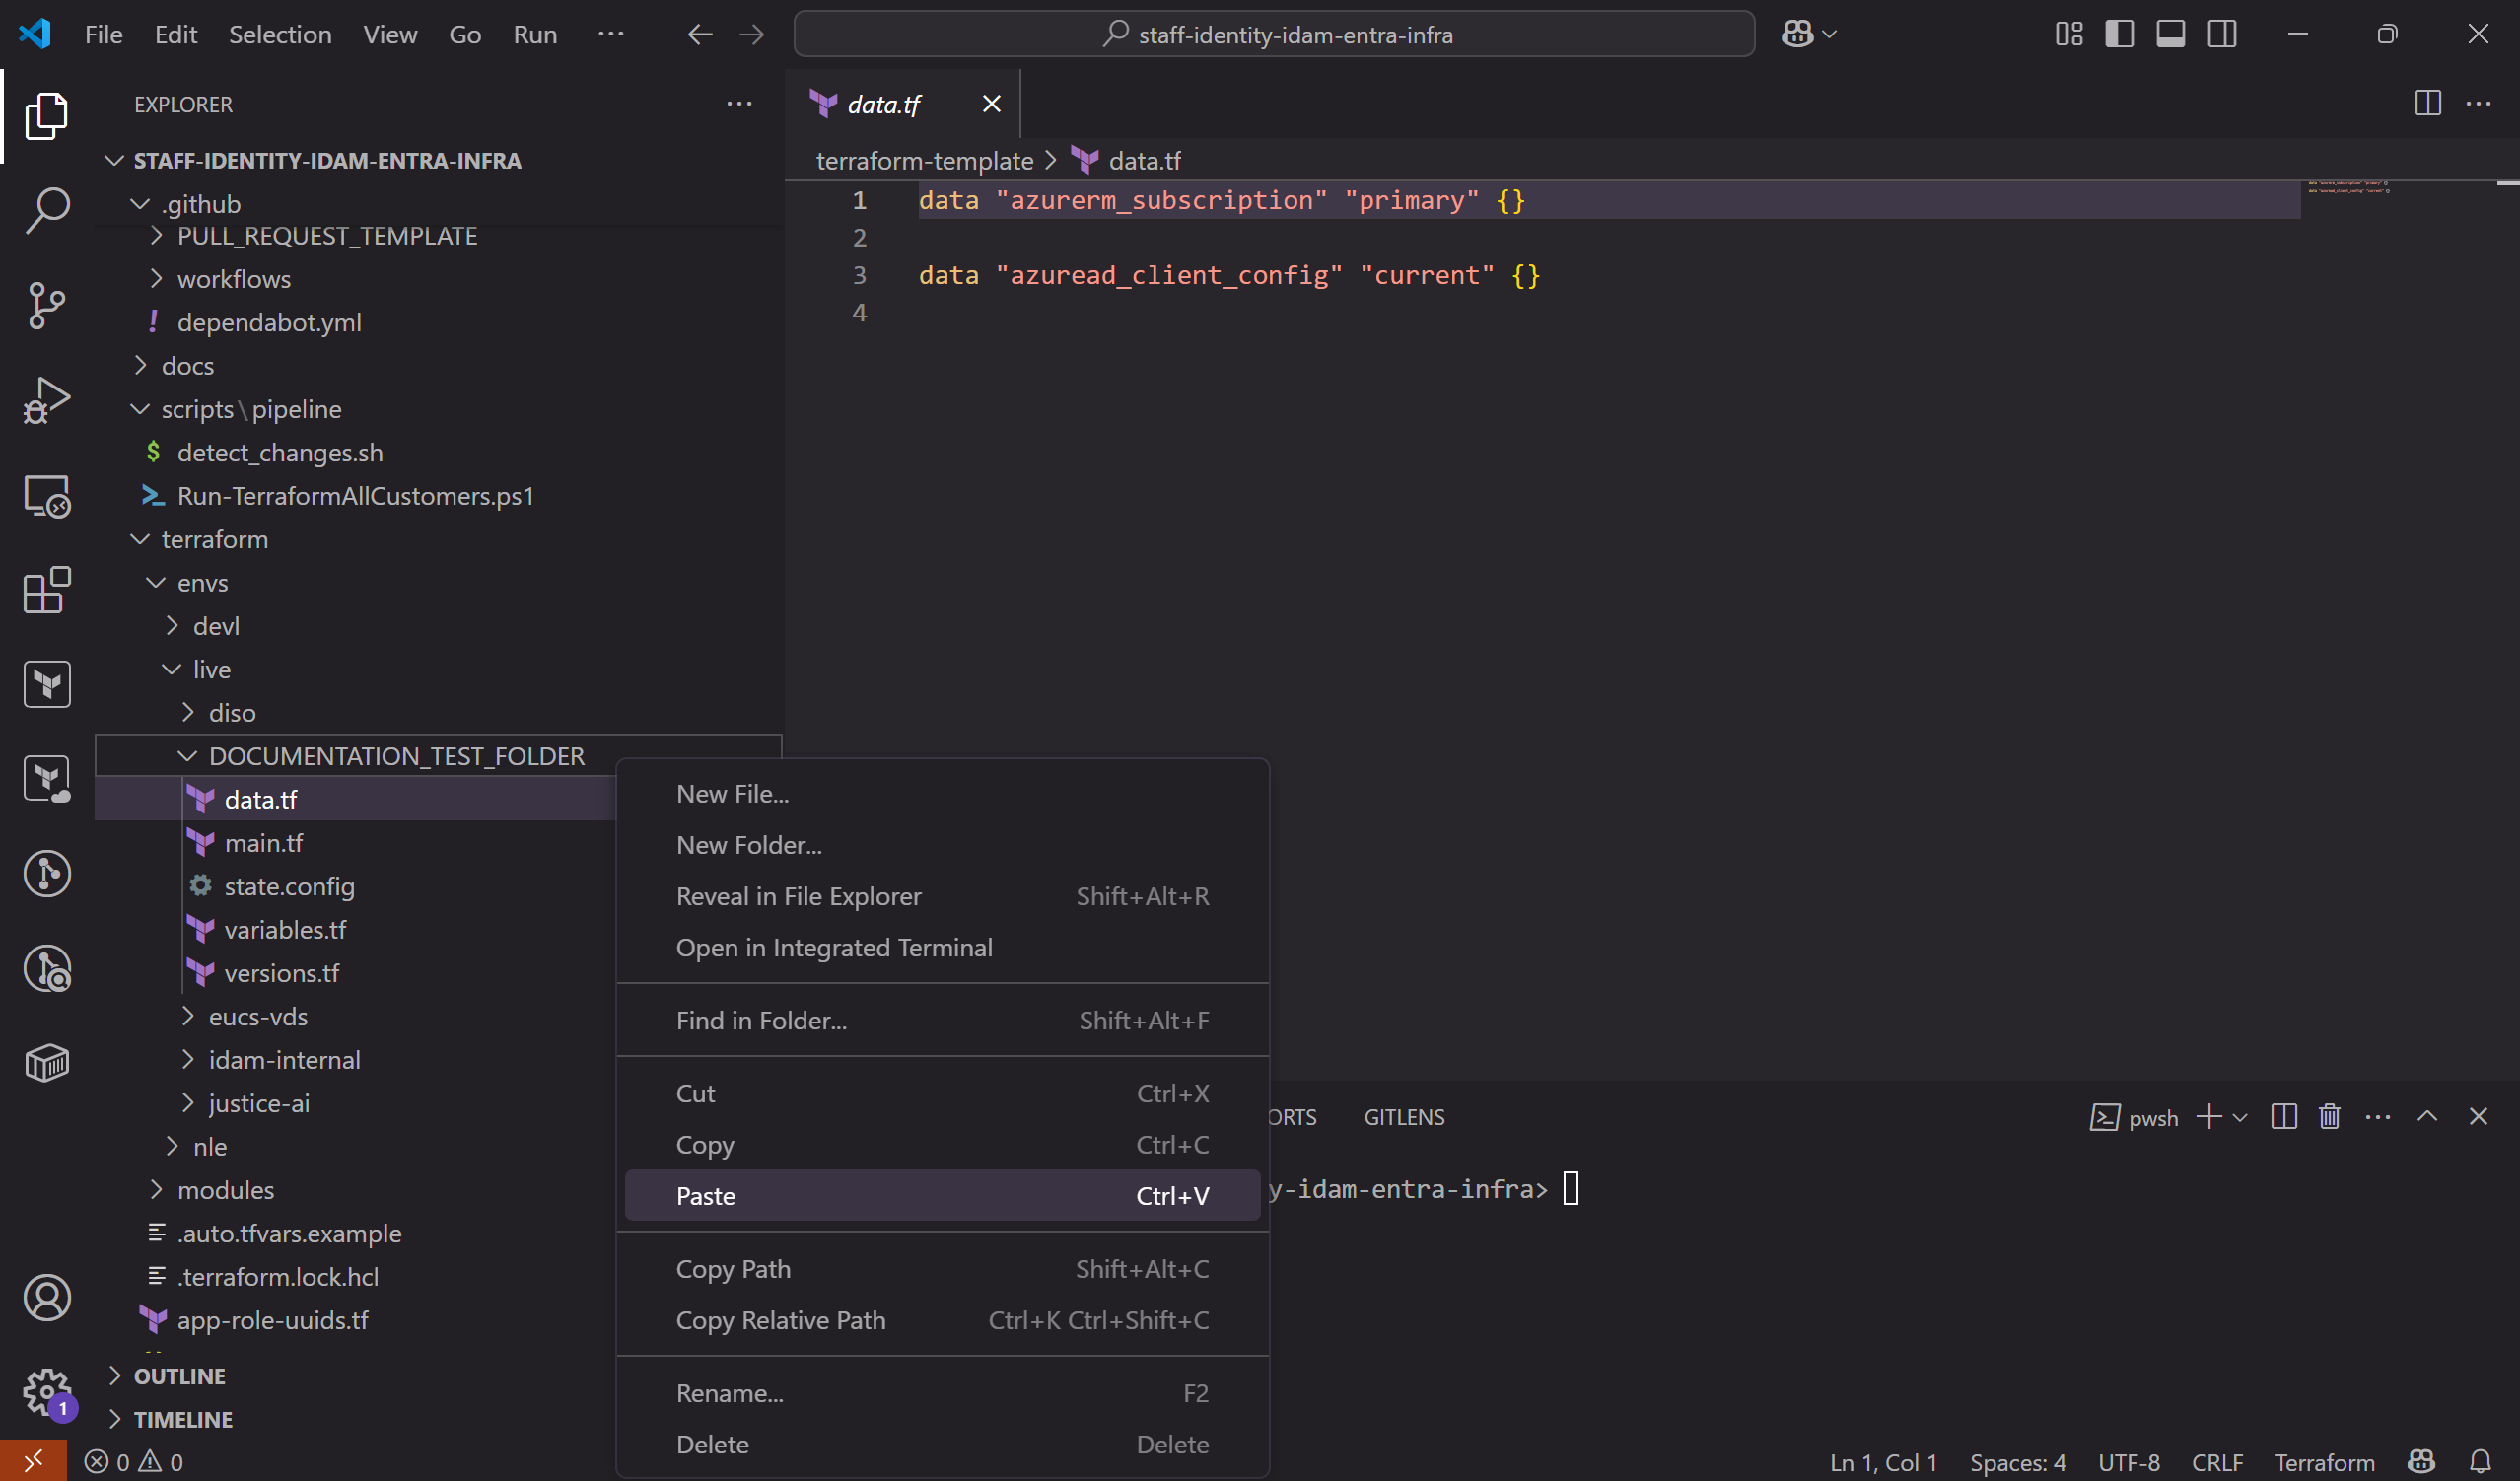
Paste the contents from the terraform-template folder into your new folder.
Update these files:
- state.config: Please see the below screenshot. As per the instructions at the top of the state.config file.
- Please only keep the block of code needed for the environment that you are deploying to.
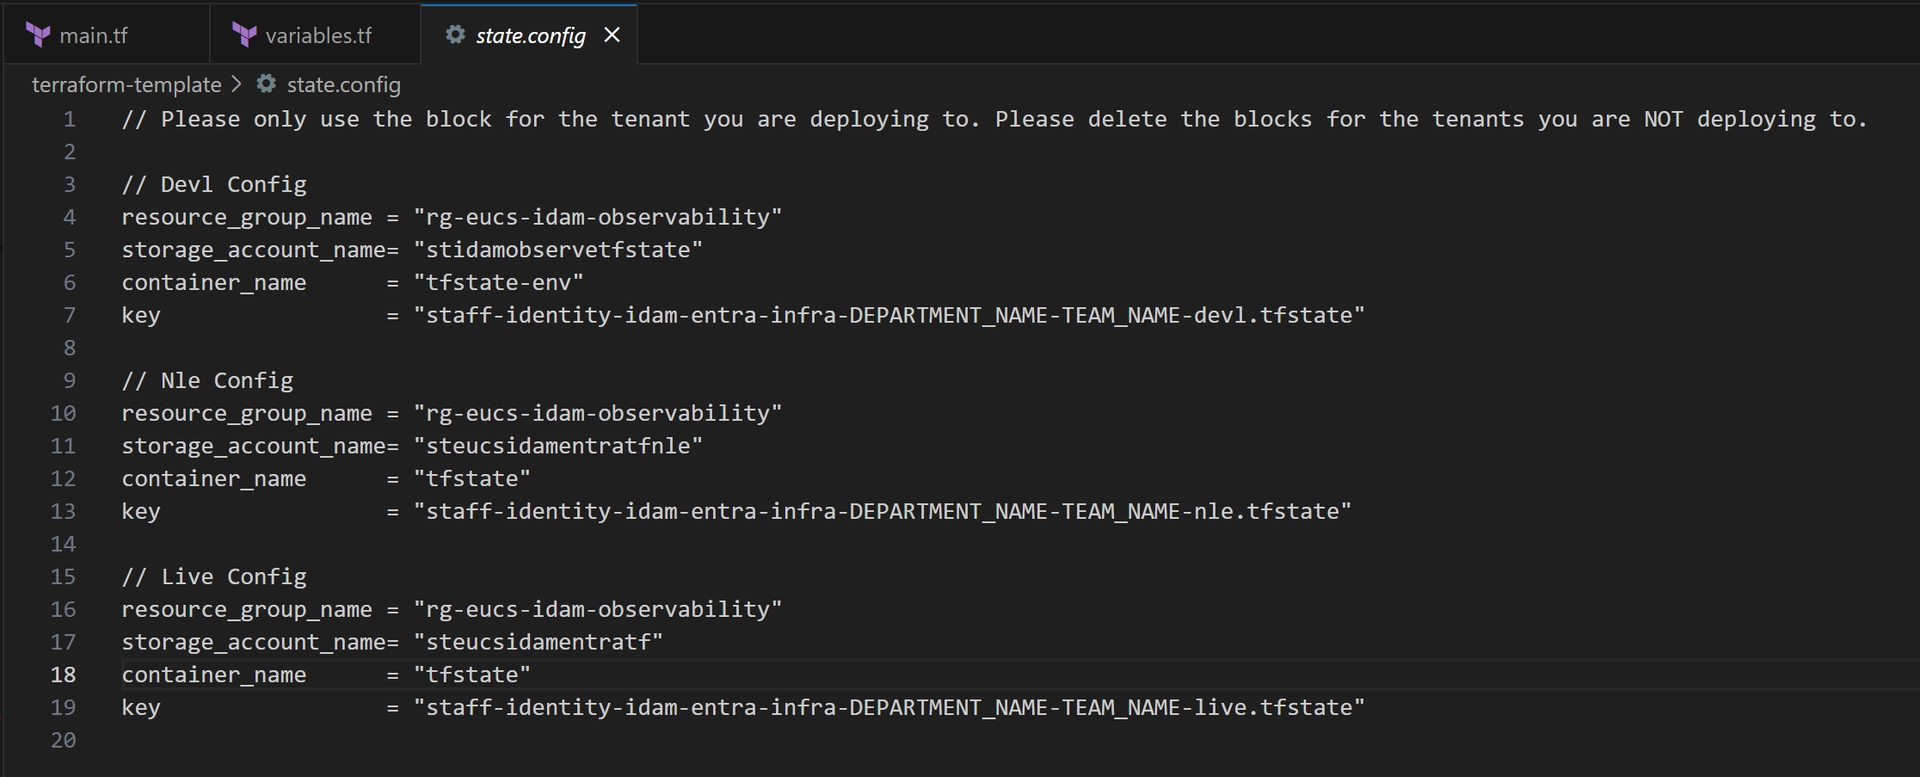
Update the
keyto match the new folder name. -Specifically theDEPARTMENT_NAME-TEAM_NAMEplaceholder.staff-identity-idam-entra-infra-DEPARTMENT_NAME-TEAM_NAME-environmentName.tfstate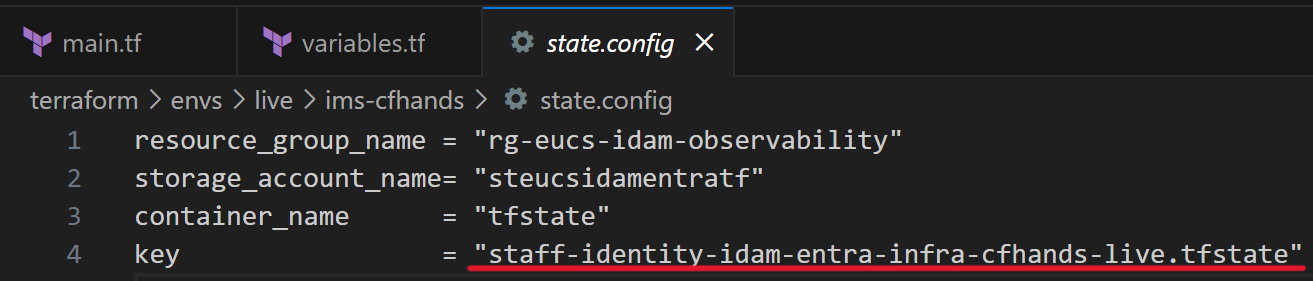
variables.tf:
- Set default values based on your requirements.
- Update graph_delegated_permissions, or leave as [] if none are needed.
main.tf:
- Set appropriate tags, (department and team).
- Update the module source to the latest version. This can be found in the
Modulesfolder, in the root of the directory.
CODEOWNERS
To protect your code from modifications without your approval, you should ensure your folders are listed appropriately in the CODEOWNERS file.- Navigate to the file .github\CODEOWNERS
- Follow the existing patterns:
- Add your directory e.g. terraform\envs\devl\test-app
- Add your team in the format: @ministryofjustice/team-name on the same line (refer to the existing data as an example)
This will then ensure your team is added as reviewers for any PR affecting your directory.
Step 4: Commit and Push Your Changes
Once updates are complete, run:
git add .
git commit -m "xxxx"      # Replace xxxx with a descriptive commit message
git push --set-upstream origin your-branch-name
If you receive the following error:
remote: Permission to ministryofjustice/staff-identity-idam-entra-infra.git denied to YOUR_USER_NAME.
fatal: unable to access 'https://github.com/ministryofjustice/staff-identity-idam-entra-infra.git/%27:  The requested URL returned error: 403 - Customers github team need access to our github repo - write perms
You will then need to follow the following steps:
Go to the slack channel here: staff-identity-authentication-services
Click the
Add team to staff-identity-idam-entra-infraworkflow at the bottom of the screen, as seen below.
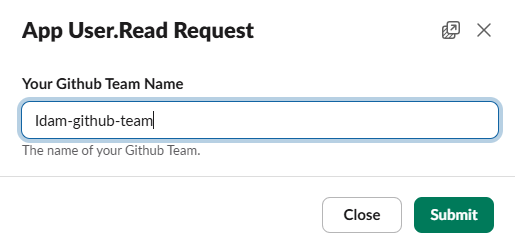
Fill in the form that will appear on screen and click submit in the right hand corner, as per below.
Wait around 1 minute for the workflow to run. You should then see a message in Slack regarding your request, as per below.

Step 5: Create a Pull Request
- Visit the repo: staff-identity-idam-entra-infra
- You should see
Compare & pull request— click it. - Complete the PR form:
- Purpose of the change
- Jira ticket reference
Please ensure you add a business justification for each application and delegated permission. This should highlight what you are using the permission for, to allow us to understand your use case and approve the permissions.
4. Click Create pull request
5. Once you have created the pull
Step 6: Review, Approve & Merge
Wait for the GitHub Actions workflow to complete. An example of this can be seen below, on a customers [Workflow] Pull Request run.
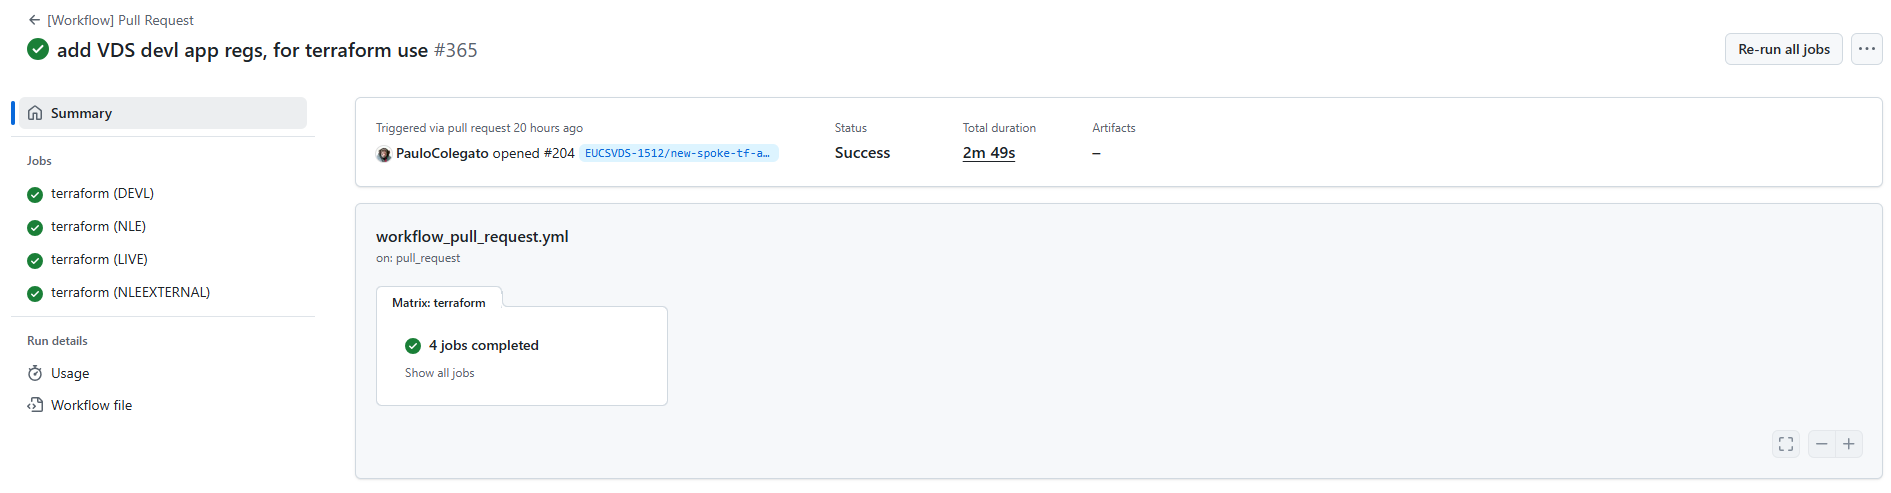
Review the job and terraform plan for the region you are deploying to. This will show if any errors need fixing, e.g. incorrect format, code errors etc. If there are any errors, fix these then push again, then run the terraform plan again and check all the output is successful.
The IDAM team will automatically get notified to review your pull request.
You will need to await for the IDAM team to approve your pull request, which may be delayed if we need to raise a change request for the permissions you have requested.
You should be notified once we have merged your pull request
Please check the deployed config in the Azure portal and ensure it aligns with your expectations. If not, please reach out to the IDAM team on Slack here: staff-identity-authentication-services
Step 7: Monitor Main Branch Actions
After merging:
- The IDAM team will confirm that GitHub Actions run successfully.
- If errors arise we will reach out to you regarding the error
- In these situation we will work collaboratively with you in order to resolve the issue.
This will require us to do the follow:
- Create a new feature branch locally
- Create a new pull request from the feature branch to the main branch
- Check that the actions run was successful
- Obtain the required approvals before merging the pull request
- Monitor the main branch actions run, to ensure the error has been resolved
Should there be further issues, we would need to go through steps 1 - 5 again, until the error has been resolved.
Step 8: Request Graph Permissions
If Graph permissions are needed (delegated or application):
- Mention this in your pull request.
- The IDAM team will handle the admin consent process.